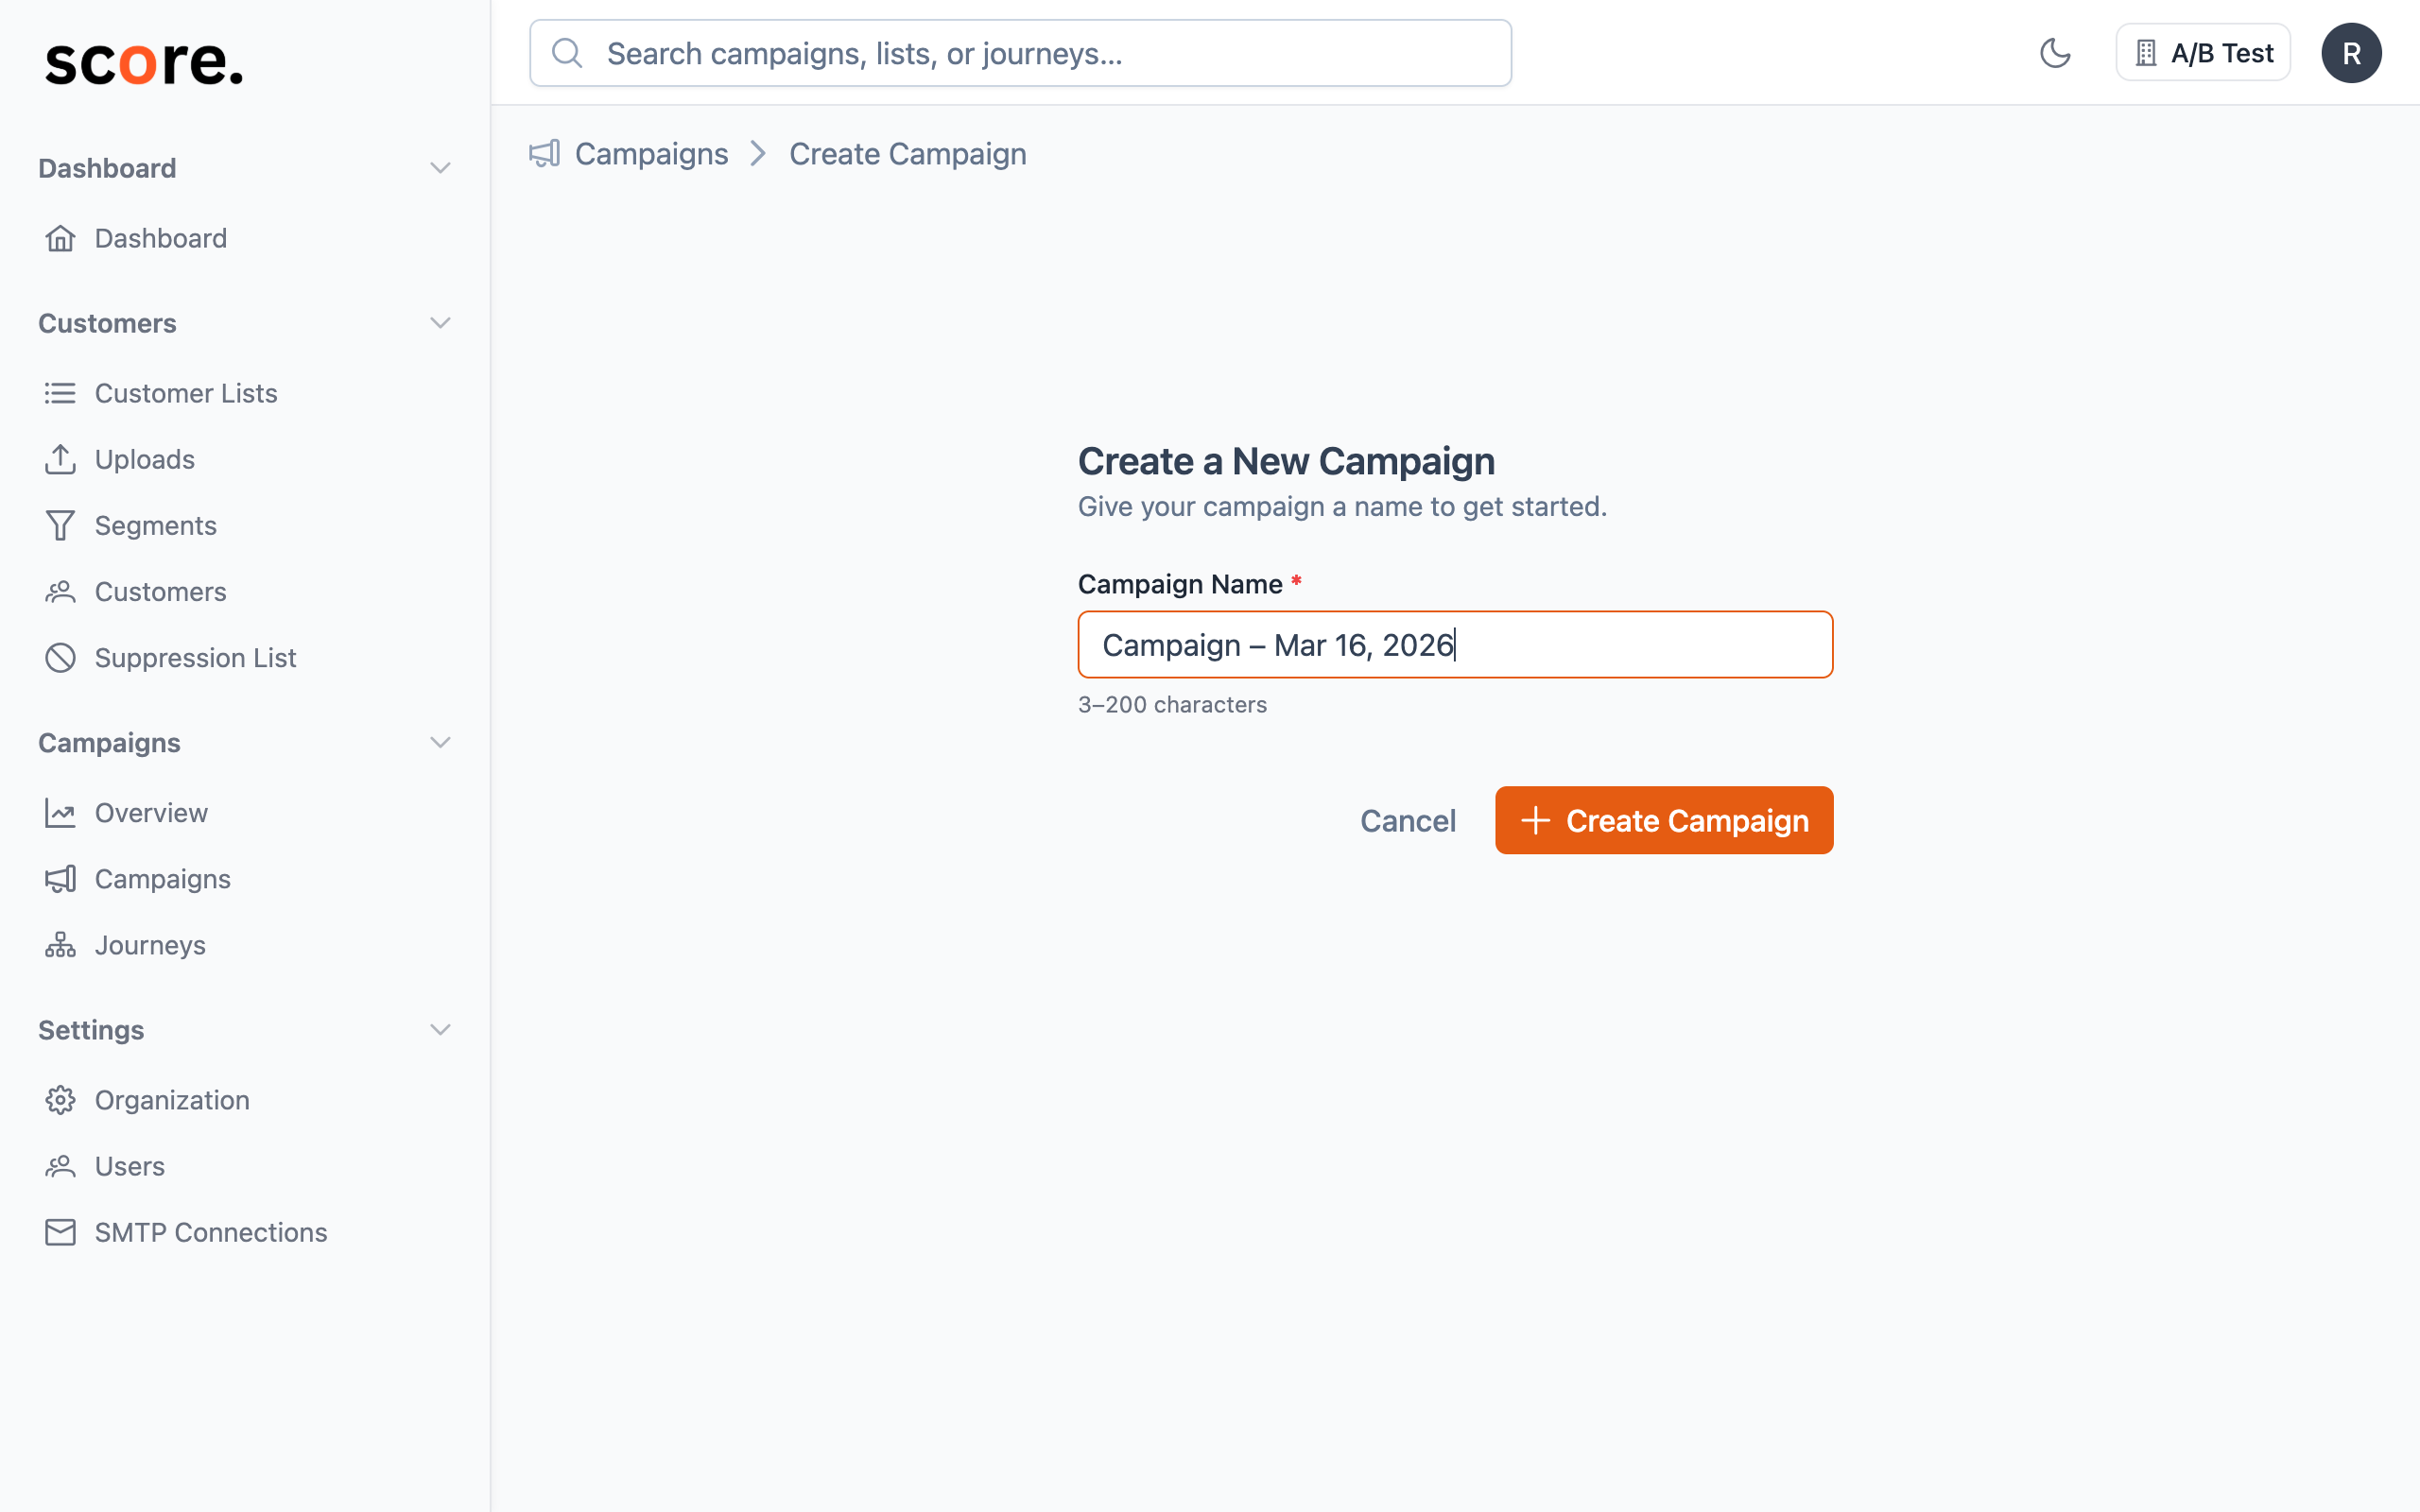
Creating Campaigns
Campaigns are the core of email marketing in Score CRM. This guide covers everything you need to know to create and configure a campaign.
Campaign Builder Overview
The campaign builder is organized into several sections that you configure from top to bottom:
- Basic Details — Name, subject, sender info
- Content — Email HTML and text
- Targeting — Who receives the email
- SMTP — Which provider sends the email
- Tracking — Open and click tracking settings
- Scheduling — When to send
Step 1: Basic Details
| Field | Required | Description |
|---|---|---|
| Campaign Name | Yes | Internal name (not seen by recipients) |
| Subject Line | Yes | Email subject line |
| Preheader Text | No | Preview text shown in inbox after the subject |
| From Name | Yes | Sender display name (e.g., "Score CRM Team") |
| From Email | Yes | Sender email address |
| Reply-To Email | No | Where replies are directed (defaults to From Email) |
The From Name and From Email can be pre-populated from your SMTP connection settings.
Step 2: Email Content
Use the email editor to create your content. See Email Editor for details on:
- HTML editing with live preview
- Merge tags for personalization
- Spintax for dynamic content variations
Step 3: Targeting
Configure who receives the campaign by adding targets:
- Click Add Target
- Select a type: List or Segment
- Choose the specific list or segment
- Set the mode:
- Include: Add these customers to the send
- Exclude: Remove these customers from the send
You can add multiple targets. The system resolves them with this logic:
Final Recipients = (All Included) - (All Excluded) - (Suppressed) - (Unsubscribed) - (Bounced)
UTM Parameters
Configure UTM tracking parameters that are automatically appended to all links in your email:
| Parameter | Description | Default |
|---|---|---|
utm_source | Traffic source | Configurable |
utm_medium | Marketing medium | email |
utm_campaign | Campaign identifier | Auto-generated from campaign name |
utm_content | Content variant identifier | Optional |
Step 4: SMTP Configuration
Select which SMTP connection(s) to use. See SMTP Load Balancing for details on multi-connection strategies.
Step 5: Tracking Options
| Option | Default | Description |
|---|---|---|
| Track Opens | Enabled | Insert a tracking pixel to detect email opens |
| Track Clicks | Enabled | Rewrite links to track click-throughs |
Step 6: Send Options
Choose when to send:
- Send Immediately: The campaign begins processing as soon as you click Launch
- Schedule: Pick a future date and time (uses your organization's timezone)
Saving and Launching
- Save as Draft: Save your progress without sending. You can return to edit later.
- Launch: Start sending (or schedule for the future). The campaign enters the
runningorscheduledstate.
Once a campaign is launched, you cannot edit its content or targeting. You can only pause, resume, or cancel it. Always send a test email before launching.
Campaign Duplication
To create a similar campaign based on an existing one:
- Go to Campaigns list
- Click Duplicate on any campaign
- A new draft is created with all settings copied
- Edit as needed and launch